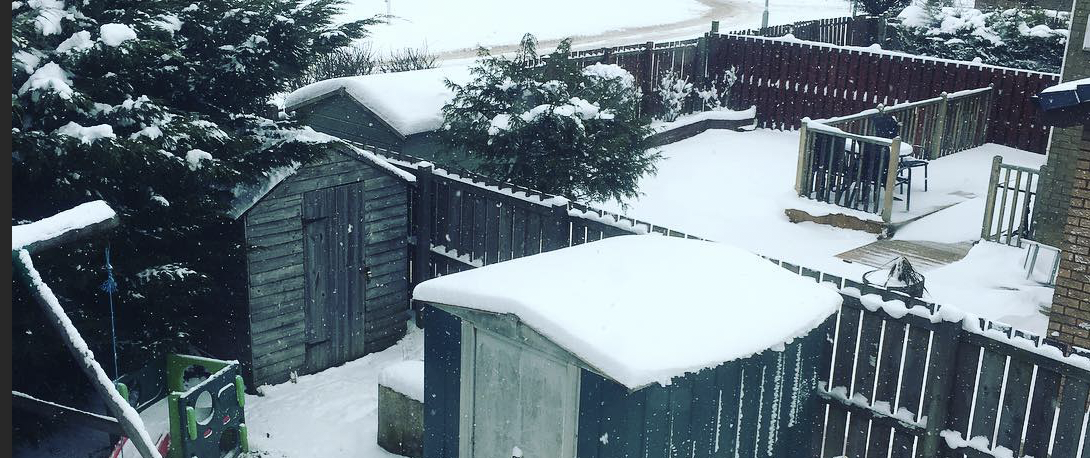
Snow as far as the eye can see

As some of you will be aware here in Scotland we were hit hard with the recent weather 'Beast from the East'... well not one to be a glass is half empty type, I put the endless supply of snow to good use and dyed some yarn!
Snow dyeing is a technique that yields some surprising results - it's not a technique that I would utilise on a regular basis because of the lack of consistency between skeins, but its a fun all the same. The process is similar to ice dyeing in that the yarn is placed under the ice or snow in this case, dye is placed on top and as the snow melts the dye is dispersed onto the skein underneath.
I decided to blog about the process and show my results as its something you can do at home if you wish, you just need a few supplies:
Materials:
Undyed/natural yarn - it must have a wool content, acrylic will not work.
Citric acid (alternatively you can use white vinegar) available from amazon/ebay - you only require a few teaspoons per skein at the most... so don't buy a lot.
Acid dyes - how many colours you use is up to you but you can achieve stunning results with very little colours - 3 is a good starting point. (you can use powdered food colouring but these are not readily available and will not be colourfast once set) you can purchase small dye sachets on eBay for personal use - just be sure to buy 'acid' dye as this is what is needed to work wth wool content.
Snow - lots of it! - obviously this isn't readily available so ice works just as well
Gloves - kitchen gloves will work well
Face mask - disposable ones from any diy shop will serve the purpose
Supplies:
Basin/bowl - one that you do not to plan to use for food preparation in the future, as once you add dye it is no longer food safe.
Colander/rack - something you can place the snow on top of that will allow it to melt and drip through
Cling film
Microwave
Process:
Preparing your yarn for dyeing can sometimes be the lengthiest part of the process, but its an important one. You don't want to rush this process only to be disappointed at the end that you pretty results are a tangled mess!
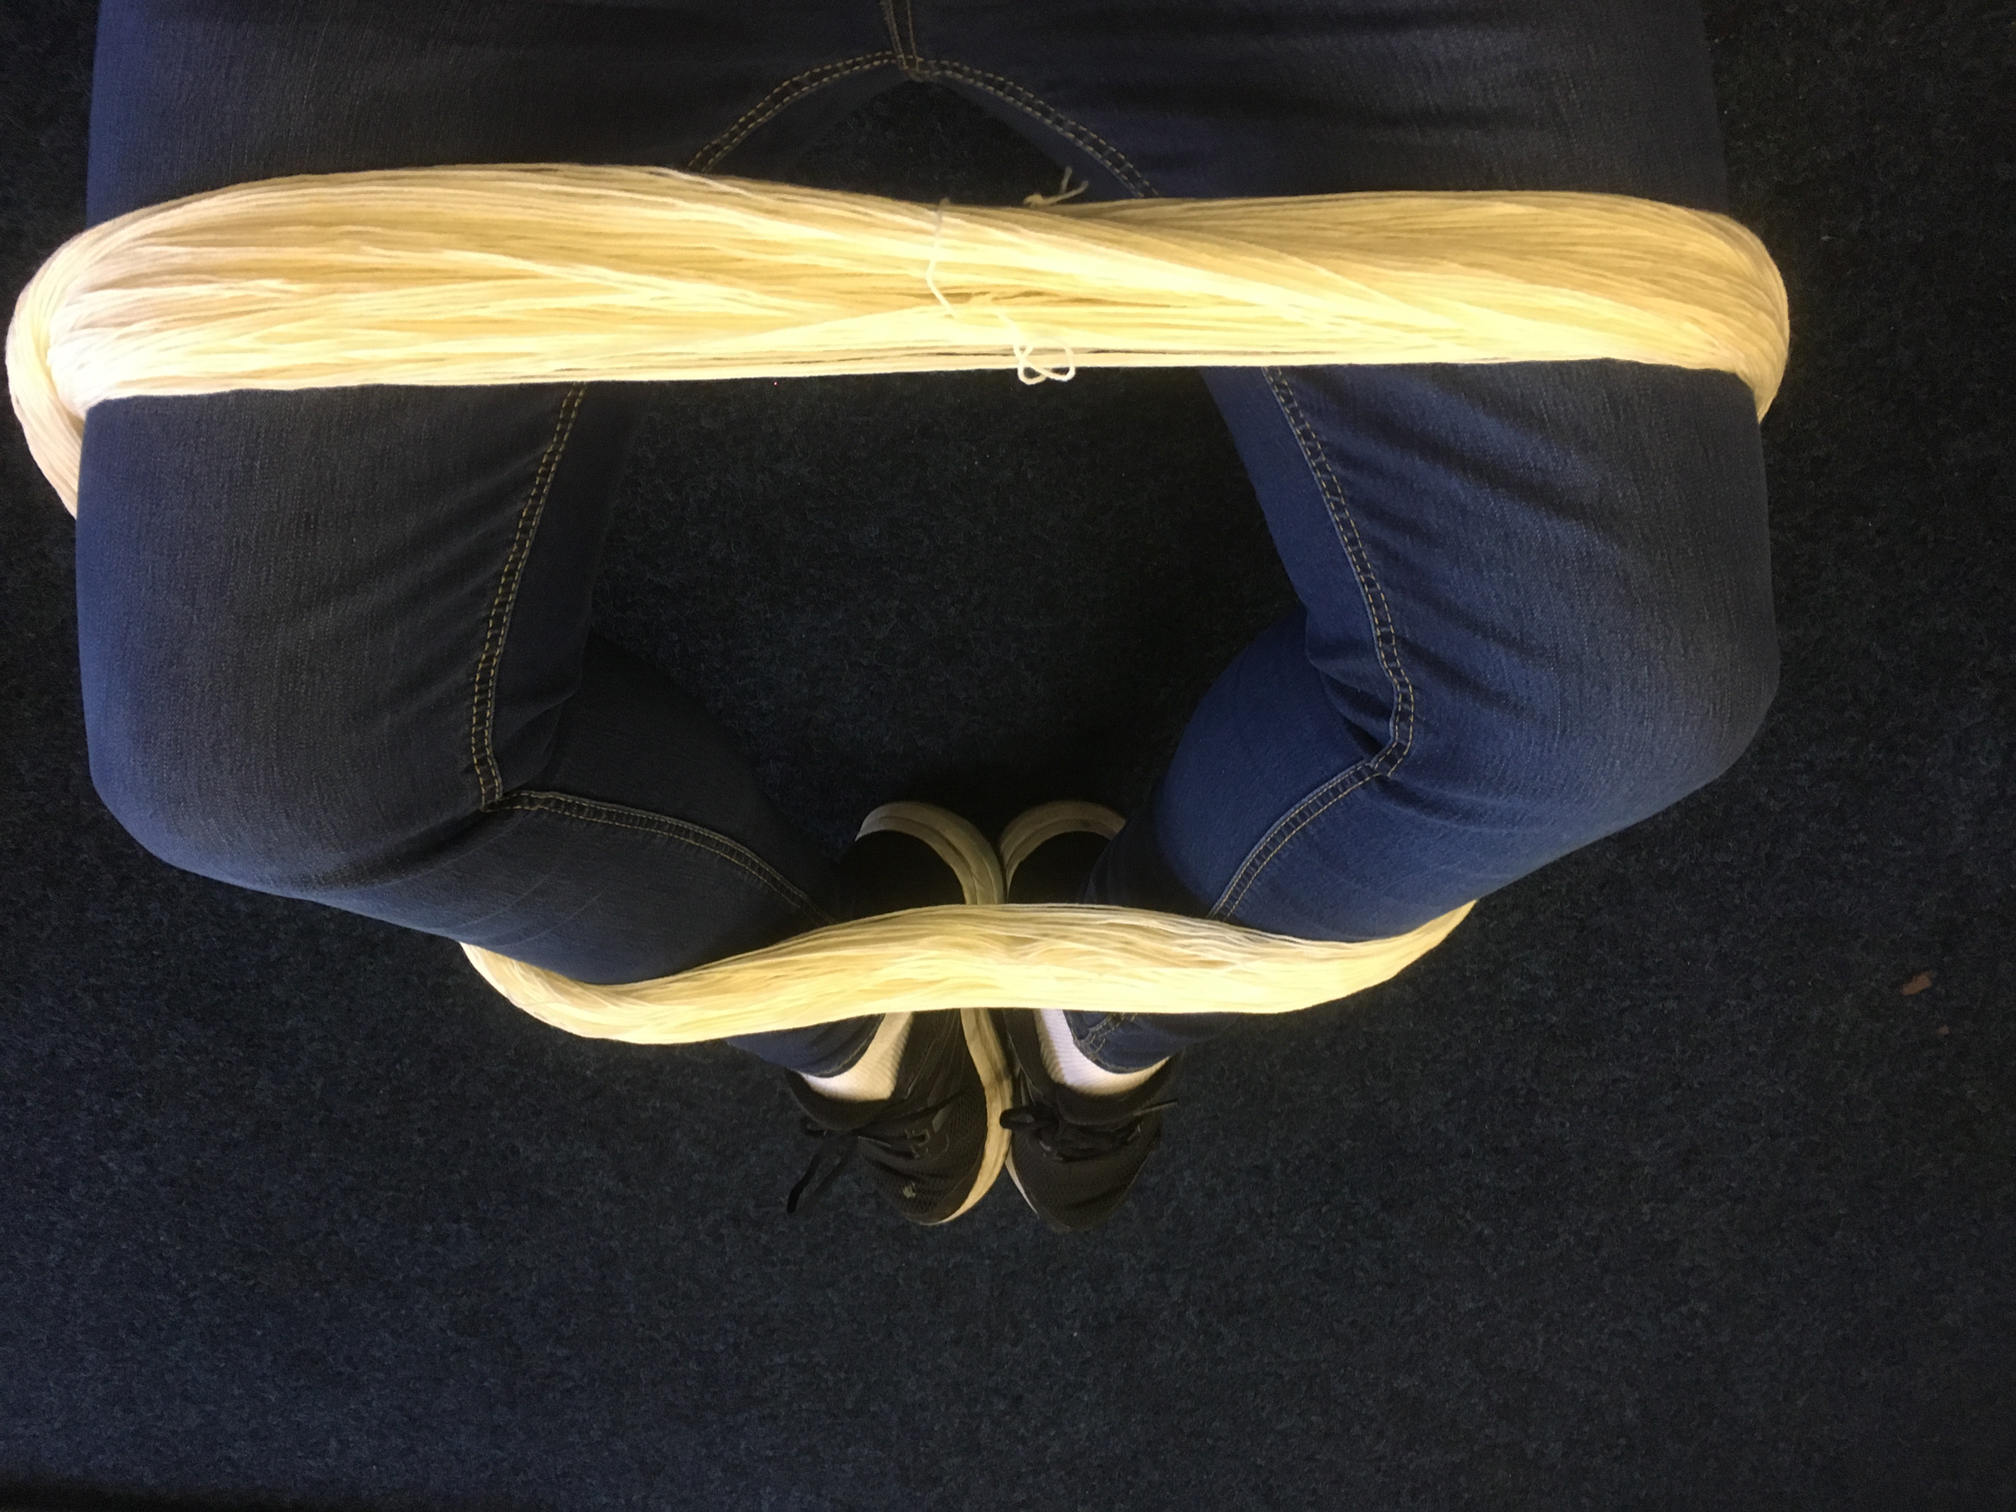
If you purchased a skein of undyed yarn then your already onto a winner, as the skein is prepared in a large loop with is what we want... however if you are using a ball of commercial yarn then you have to turn that into a skien.
This isn't as scary as you think - there are various methods and gizmos you can buy to do this but for the purpose of this blog I'm going to assume you want the easiest and most cost effective option! Simply wind your yarn around the back of a chair - or alternatively sit with your legs crossed and wind the ball of yarn around and around your knees. You are trying to create a large loop of yarn, continue winding till you have used all the yarn.
Like this:
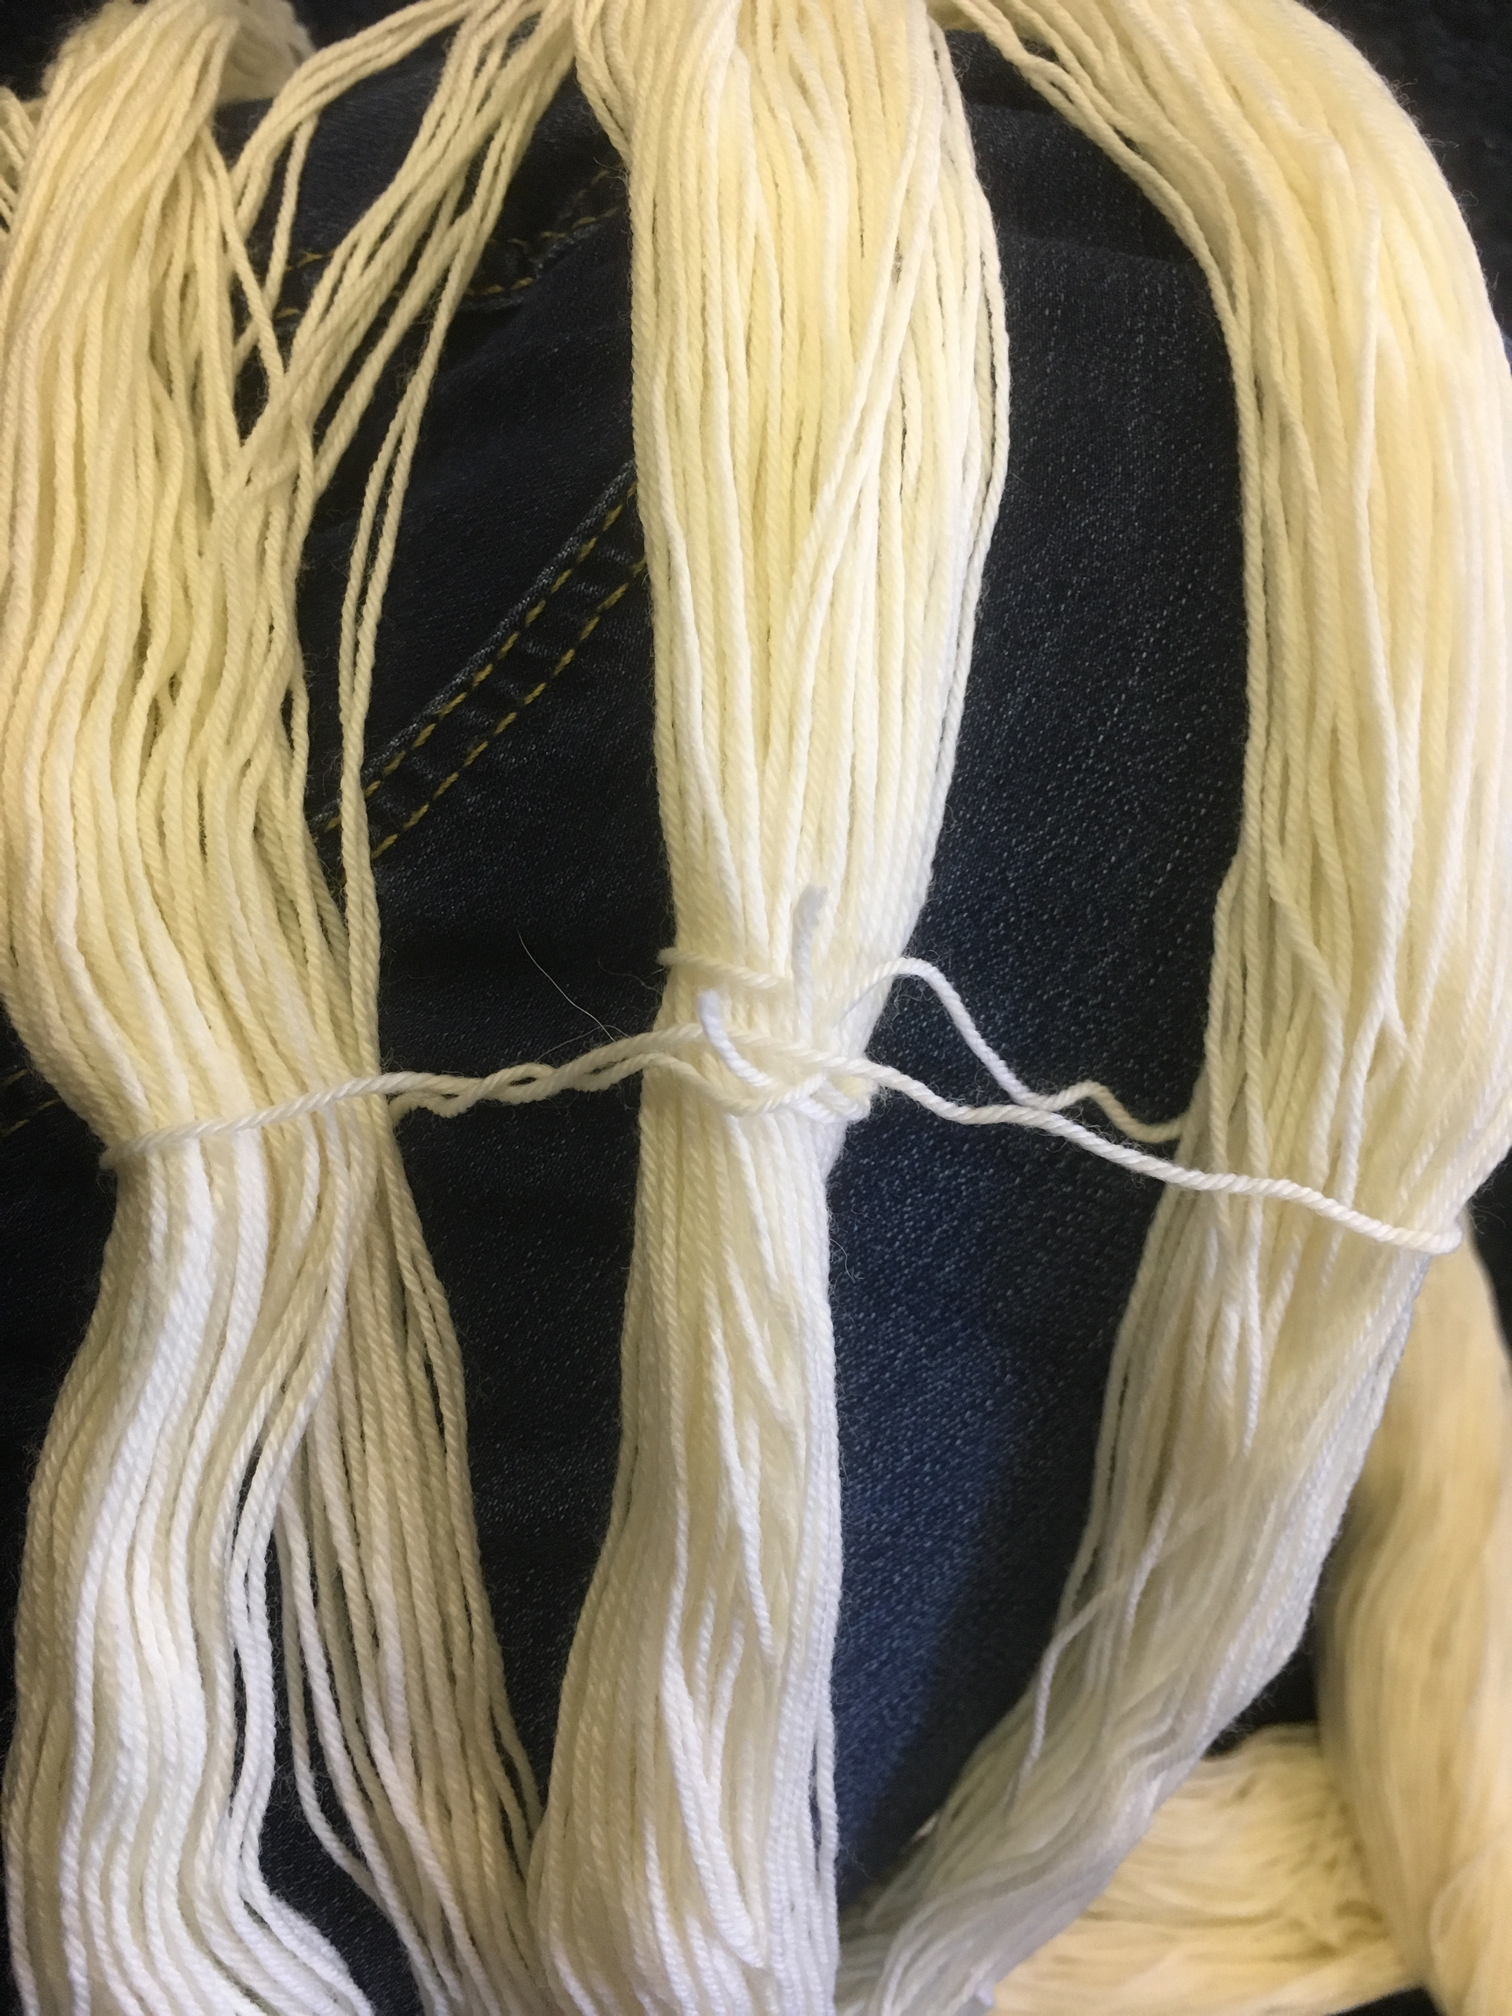
Now you need to tie your ends off - you do this by creating a figure of eight loop around all the strands in your skein - this will ensure your skein doesn't get tangled in the dye process., just split a section of the skein into three and loop your end over and under, and tying back on itself.
Like this:
Now we are ready to soak. - be sure to wear your gloves and face mask here.
In order for to dye yarn you must first soak it - if you tried to apply dye to dry yarn it would simply wash off, and be a patchy mess... so we are going to start by filling your basin with cold water, and for this technique we are going to add the citric acid/vinegar to the soak solution, my rule of thumb is one large teaspoon of citric acid for every 100g of yarn. if you are using vinegar you will need more - a good 'glug" (yes very scientific quantity) in your basin will be ok.
Now submerge your yarn in the water so it is throughly soaked. Depending on your yarn blend it can take a few minutes to fully soak through the strands - don't be in a hurry during this - the more saturated your yarn the better uptake of the dye will be. - When I'm soaking yarn at the studio I like to leave it for 20-30 minutes in the citric solution, the longer you leave it the better your results will be.
Once your yarn is throughly soaked, remove it from the basin and discard the water. gently squeeze the excess water out of your skein - you want it wet but not dripping.
Now comes the fun part..
Place your skein (or skeins depending how many you prepared) back in the basin, how you arrange the skein will determine how the dye will appear - there is no hard or fast rule here, have fun... twist your skeins, roll it in a circle, lay it flat... each method will produce different results.
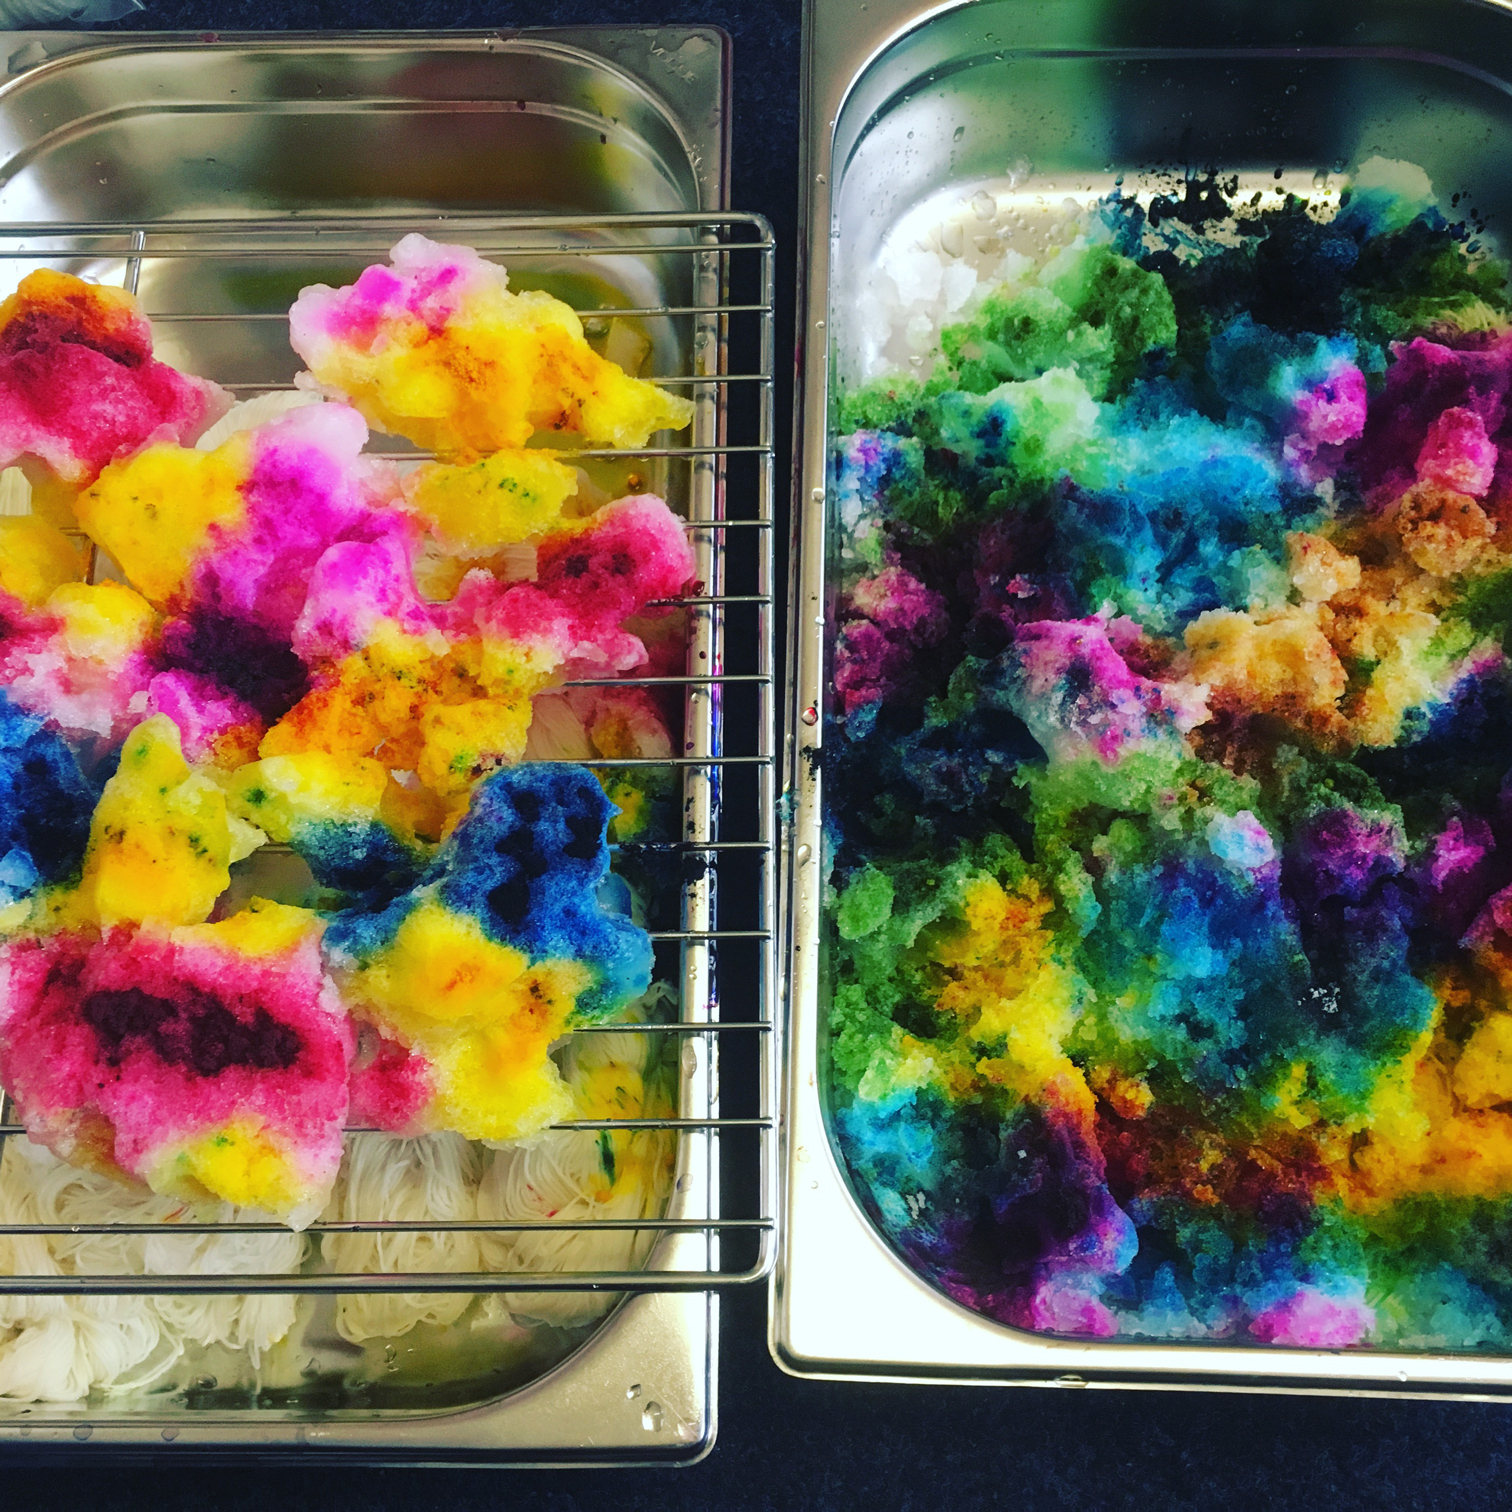
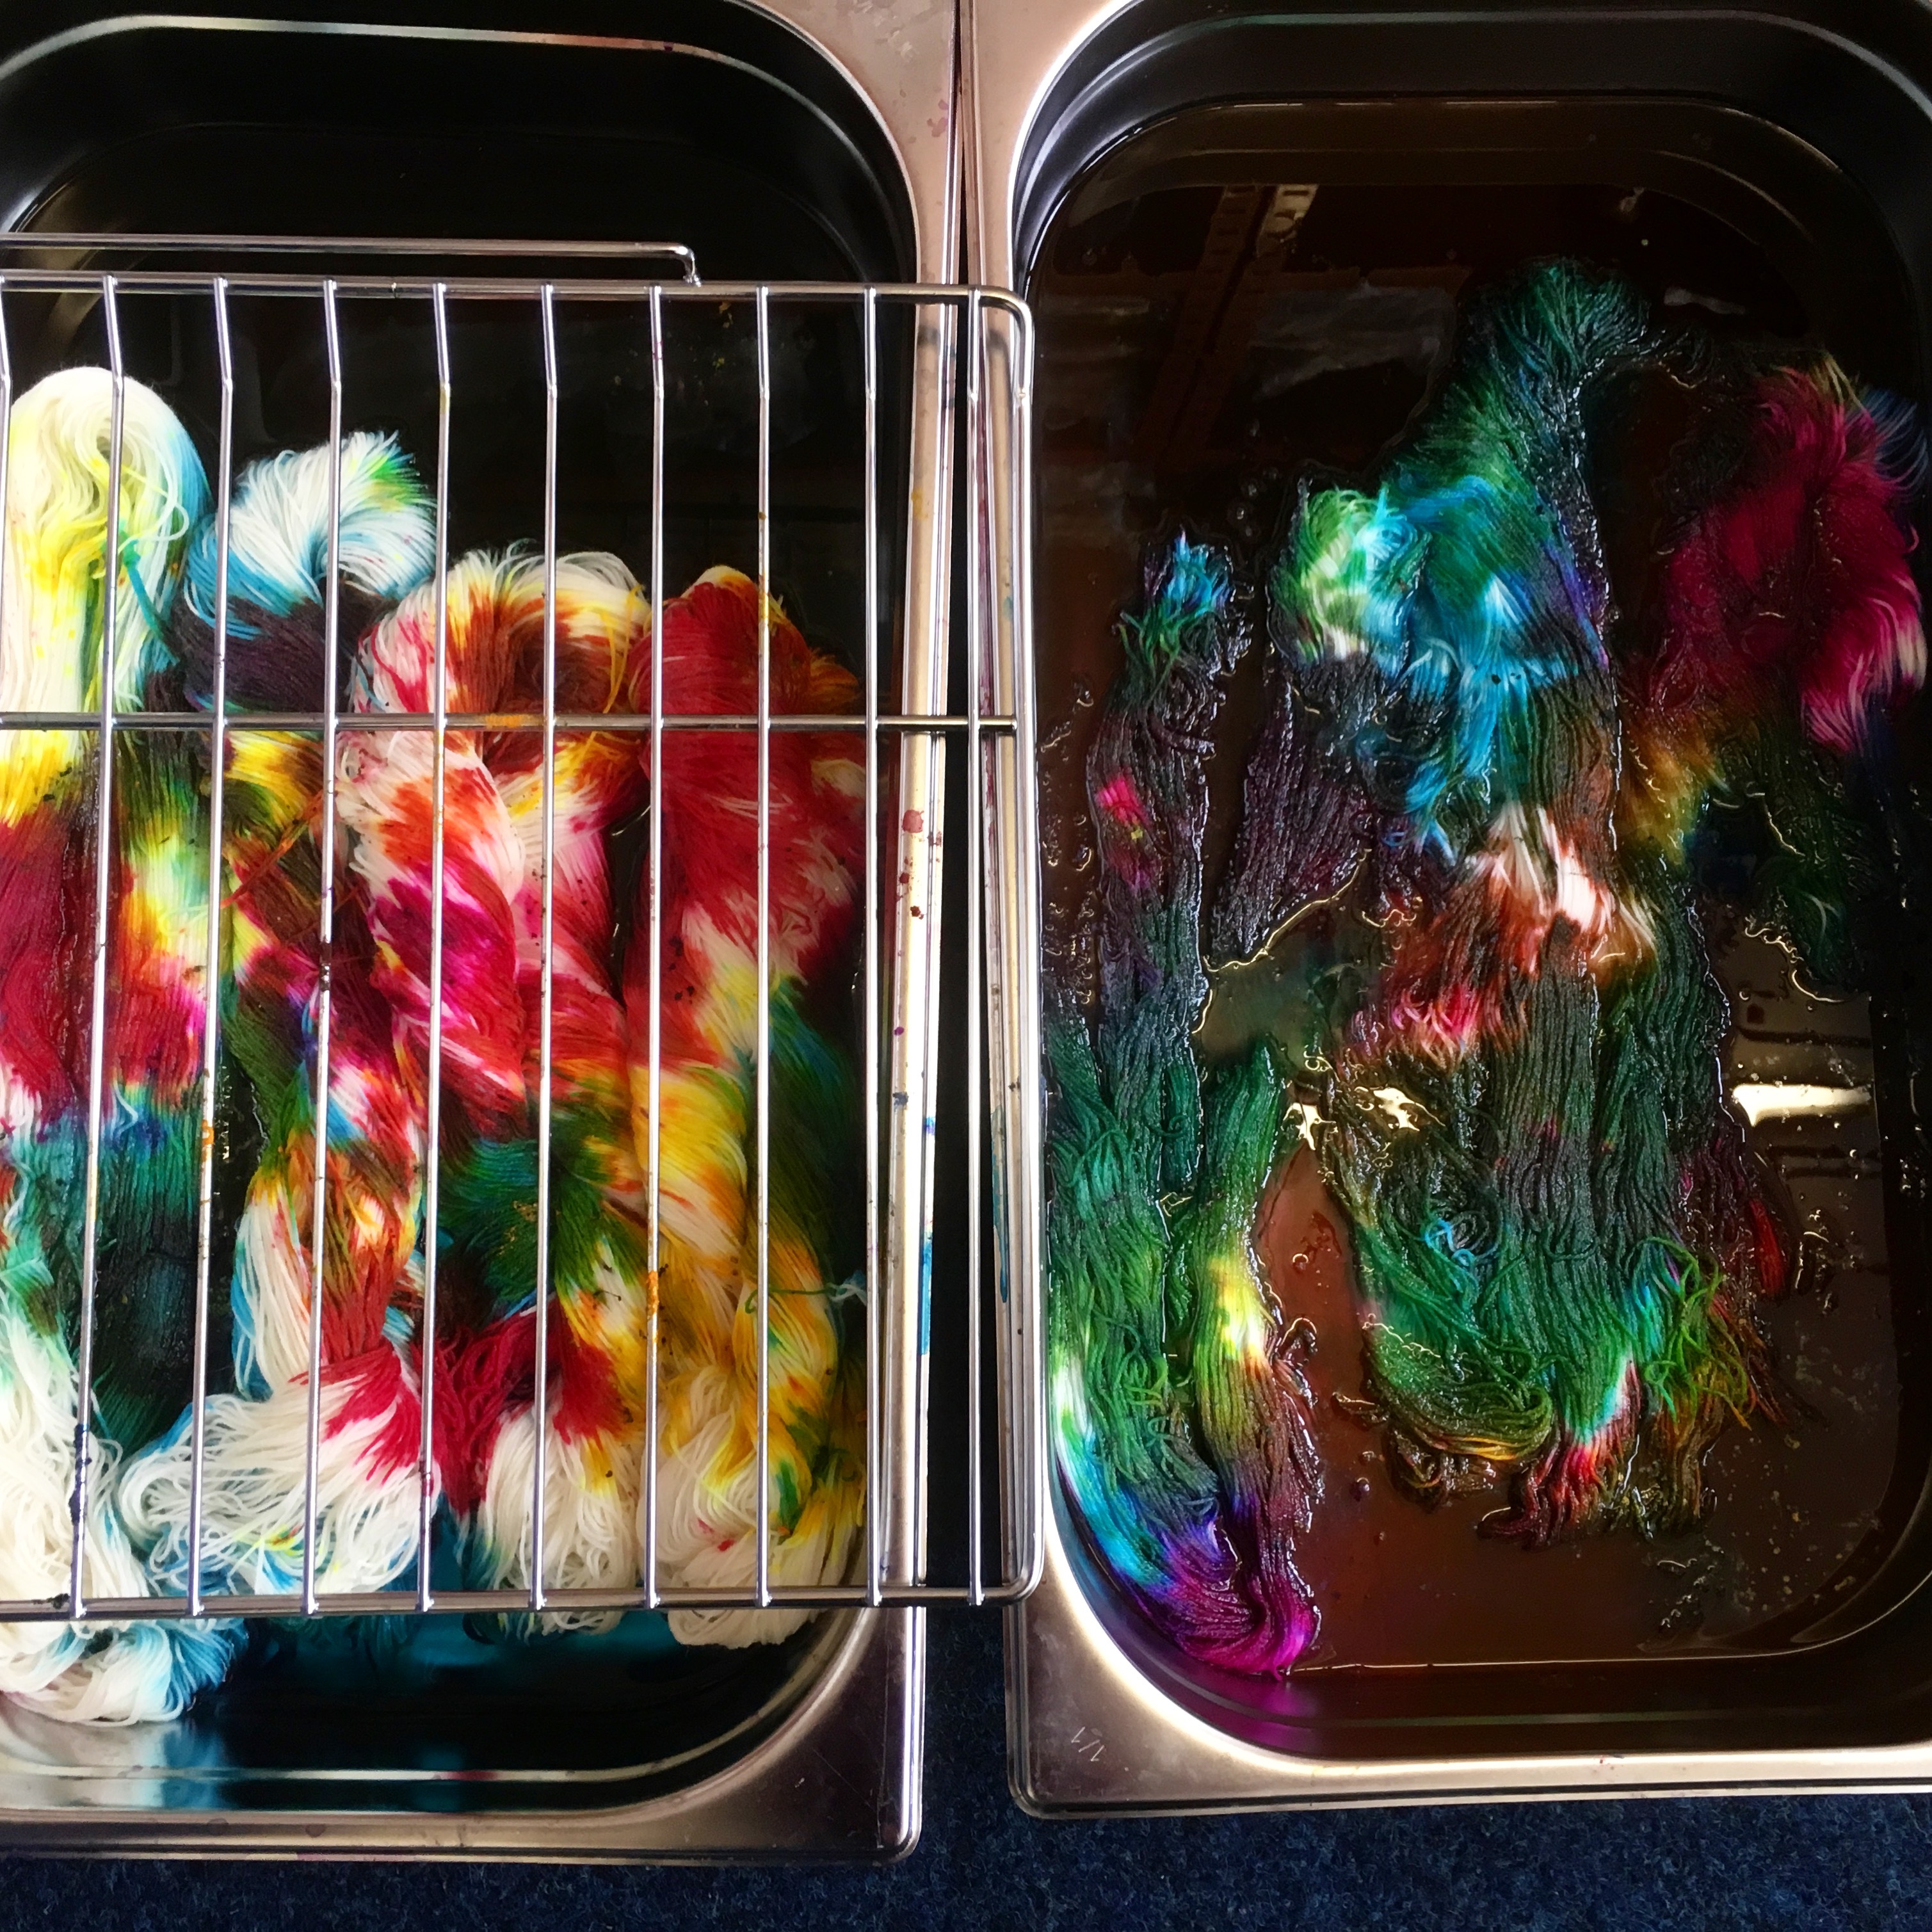
Now place your colander/rack over your basin so there is a gap between the yarn and the rack - we are looking to create a space for the snow to drip... alternatively you will see in the pictures that I chose to try two methods, one with a rack and one where I placed the snow directly on the yarn... the produced very different results.Neither is right nor wrong, the whole point of this tutorial is to have fun - dyeing is an art form and you should be enjoying it - if your not then let go, don't worry about right and wrong and just play.
Next up you will need your snow and your dyes.
Place a large amount of snow on your rack - or directly on your skein depending which method you wanted to try, make sure to cover all of your yarn with a good 2-3cm thickness of snow - the thicker the snow the more the dye particles have to travel through the melting snow and the wider variety of results you will achieve.
Now take your dyes - and this is obviously what we have been waiting for isn't it... have fun... take a tiny amount of your dye powder, sprinkle it onto the snow - now when I say a tiny amount of powder I really mean that - dye particles spread like wild fire! so use a tiny amount first and see how far it goes, then add more if you want.
I used a variety of colours because I have them readily available but I'm going to assume you purchased 3 colours like I stated in the list of materials - dye powder will blend and mix when they come in contact with each other, so although you may only have say yellow, blue, and pink... the spectrum of colours you can achieve with those is quite stunning.
Try to place one dye on top of the other to achieve more blending, but as the snow melts and the dye powder mixes in the water it will naturally mix ... so be mindful of this when placing your dyes, however like I said this process is fun, there really are not constraints. Be a child who never gave back their crayons!
NOW LEAVE IT ALONE. Yep walk away! don't touch it, don't fiddle, don't keep prodding it - I know you want to lol.
Once your snow has melted you are effectively done. In terms of the dye process the dye has now touched the yarn so unless you started moving that skein around in that messy water you dye will stay where it landed. However we now need to set it! - to prepare for setting place a large piece of clingfilm out on a counter top, enough to lay all your yarn on top of. - you might want to consider doing this directly next to your basin.
Setting yarn is done through a process of heating, so VERY carefully lift your yarn (wearing gloves) out of the basin, give it a gentle squeeze over the basin - very gentle as not to effect your lovely dye job)
Place your skein of pretty yarn on the cling film, and cover with another piece of clingfilm, roll your yarn so its completely covered in cling film and roll into a circle - place this in the microwave ( in order to keep the microwave food safe, place your clinbgfilmed yarn in a container that you can later discard) and heat on full power for 2 minutes. Let its cool without removing it from the microwave, heat again for a further 2 minutes. Repeat this process once more, and let cool completely.
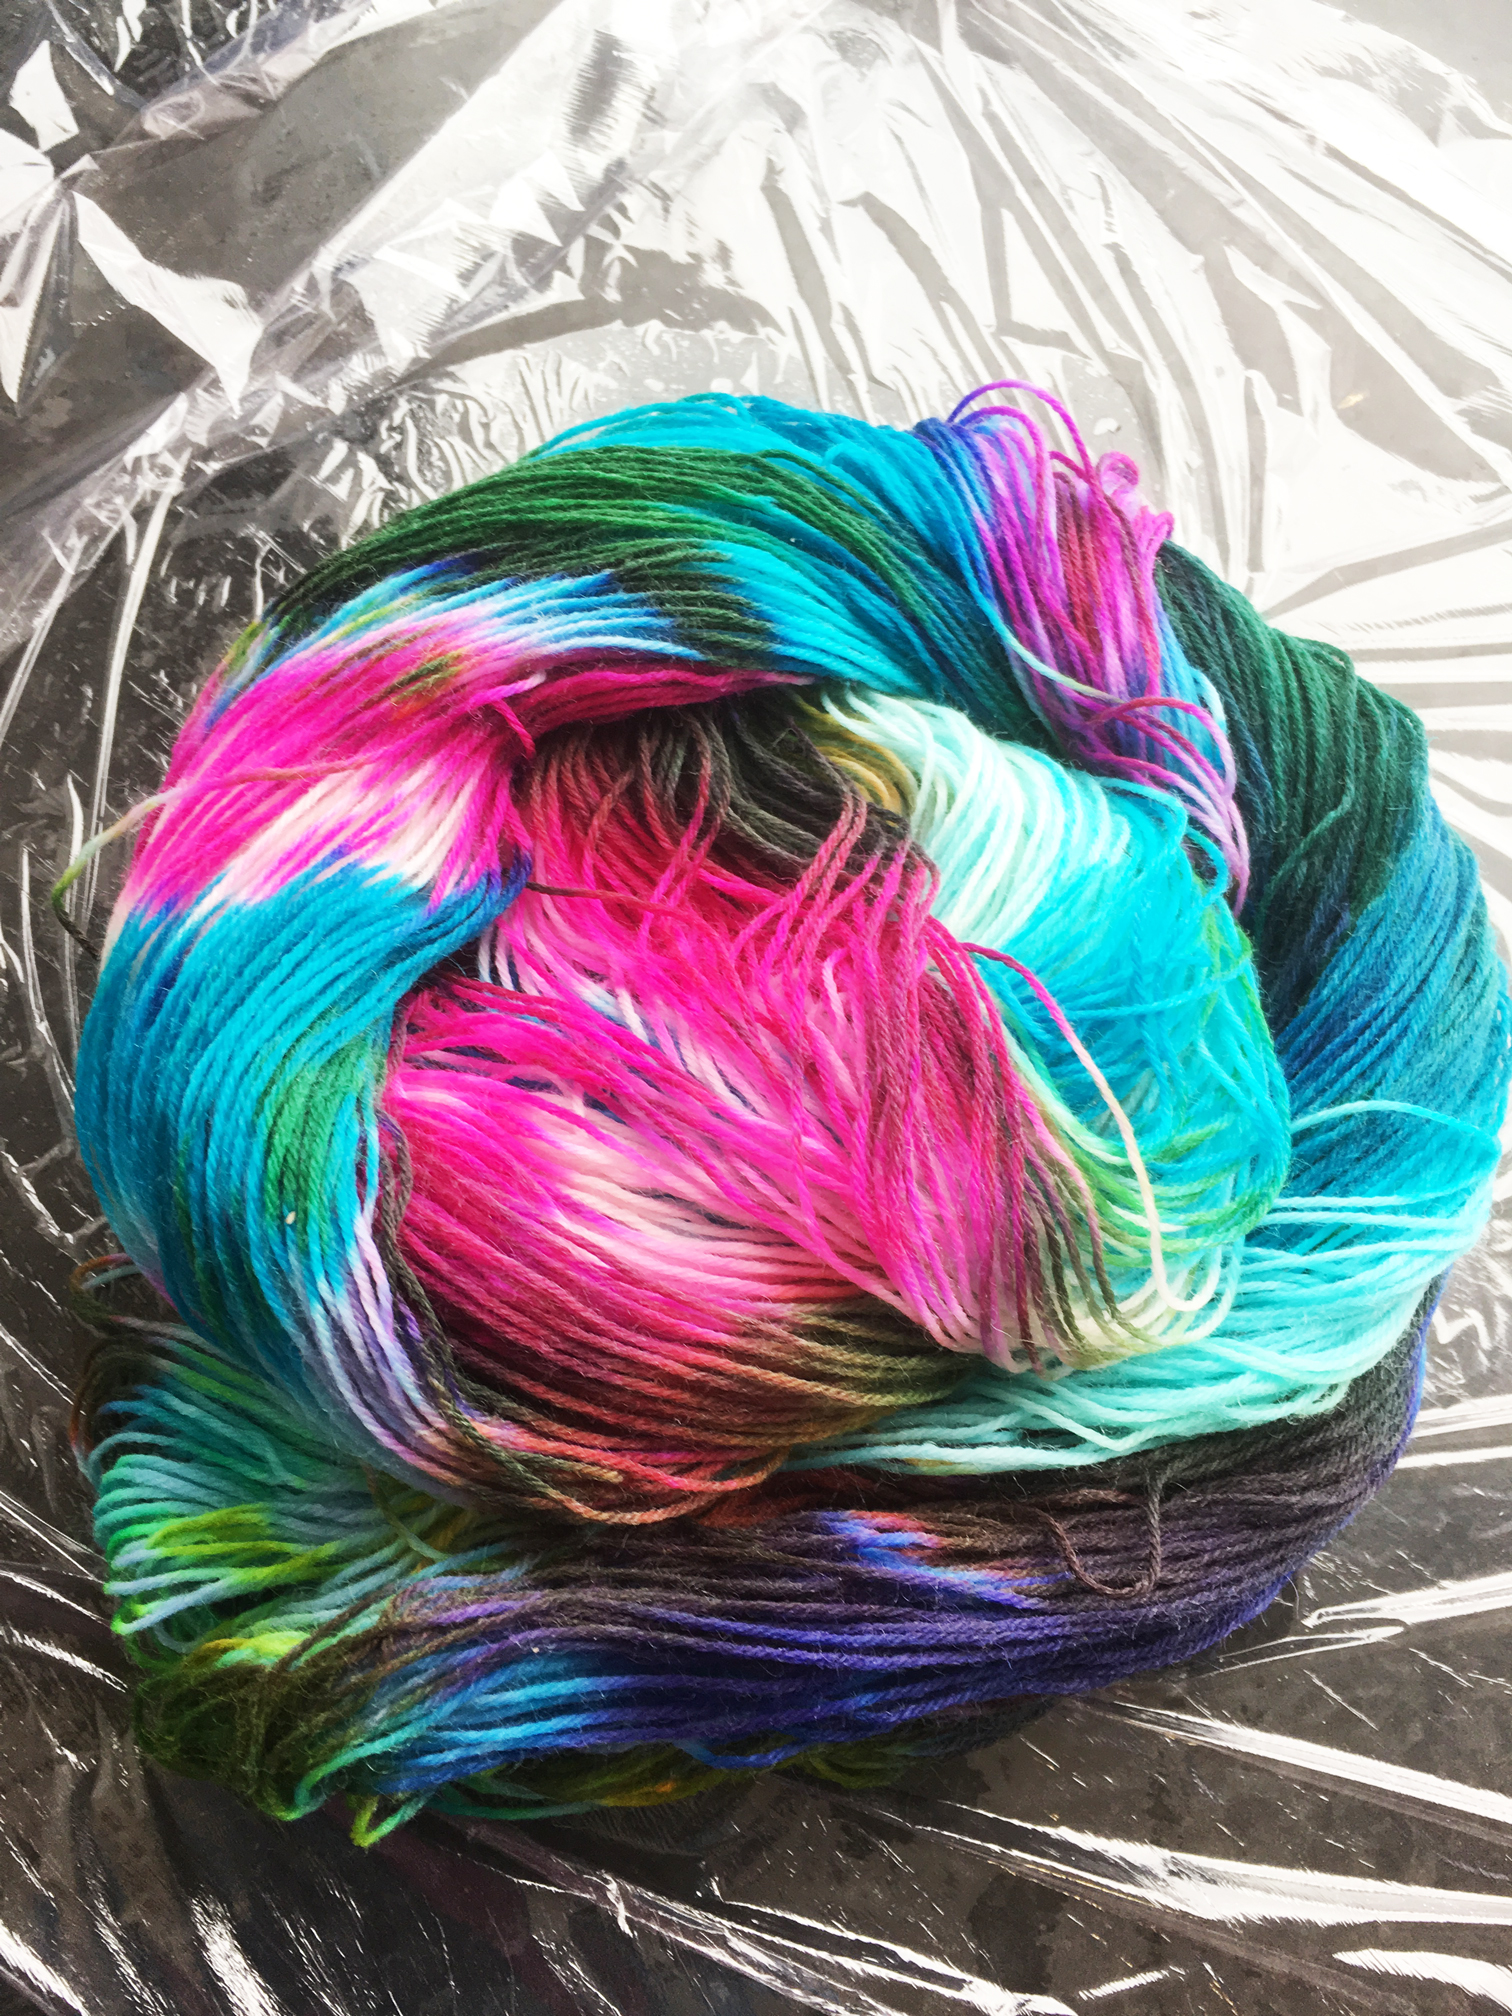
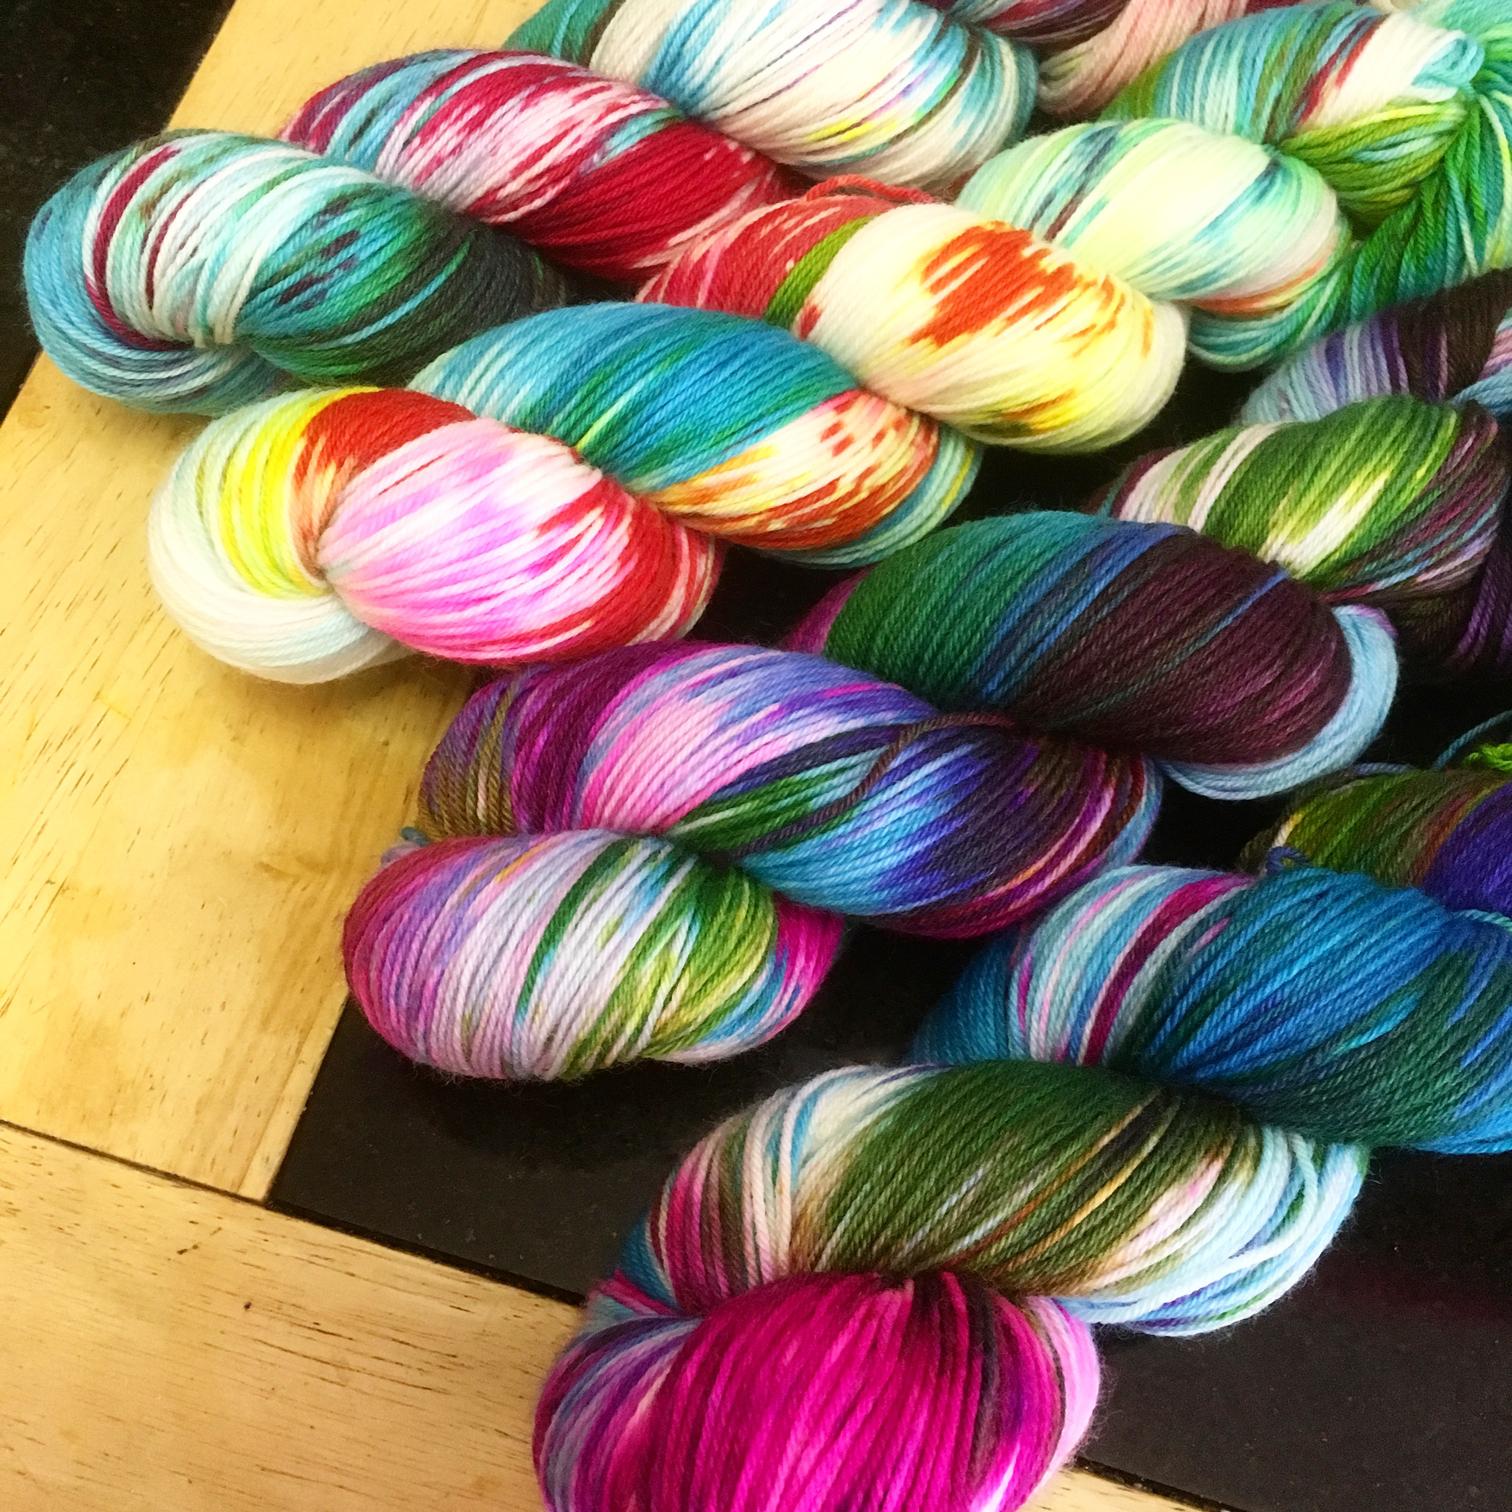
Remove the clingfilm and rinse your yarn thoroughly - isn't it pretty! ... I don't even need to see it to know that it is - its also unique because thats the thing with snow dyed yarn - you are never going to be able to create an identical skein, so it truly is one of a kind!
Hang your piece of art to dry, once dry ball that bad boy and knit/crochet something stunning!
You can see here just how different the yarn has dyed for the ones I created for the tutorial - the top two were under the rack where I created a drip space for the snow to melt through, where as the bottom skeins in this picture are the ones that were directly under the snow - you can see how it has saturated the yarn with far less flashing. (white spaces) Both are equally beautiful and each skein really is very different despite being in the same trays.
I hope you enjoyed this tutorial check out our video documenting these skeins being made here:
Any questions just use the contact page on the website and ask away - I'm here to help.
Enjoy and remember to have fun
Love Lisa
x